How to Photograph the Northern Lights
By Photobox on 29 October 2026
Chasing the northern lights is part planning, part patience and part luck. From finding out where can we see aurora borealis to mastering aurora lights photography when the sky finally lights up, here’s how to give yourself the best chance of capturing one of nature’s greatest shows.

To photograph the northern lights, you need a dark, clear sky, the right aurora borealis camera settings, a steady setup and a little patience. Then, if you’re lucky, the sky takes over. Seeing the aurora dance overhead is one of those travel moments that’s worth chasing, even if nature doesn’t always cooperate.
Photobox’s Elena and Anna, along with travel writer Gemma, have done exactly that across Sweden, Iceland and Norway. Here, they share what worked, what didn’t and how to give yourself the best chance of coming home with an amazing shot of the northern lights.
What are the northern lights, and what causes aurora borealis?
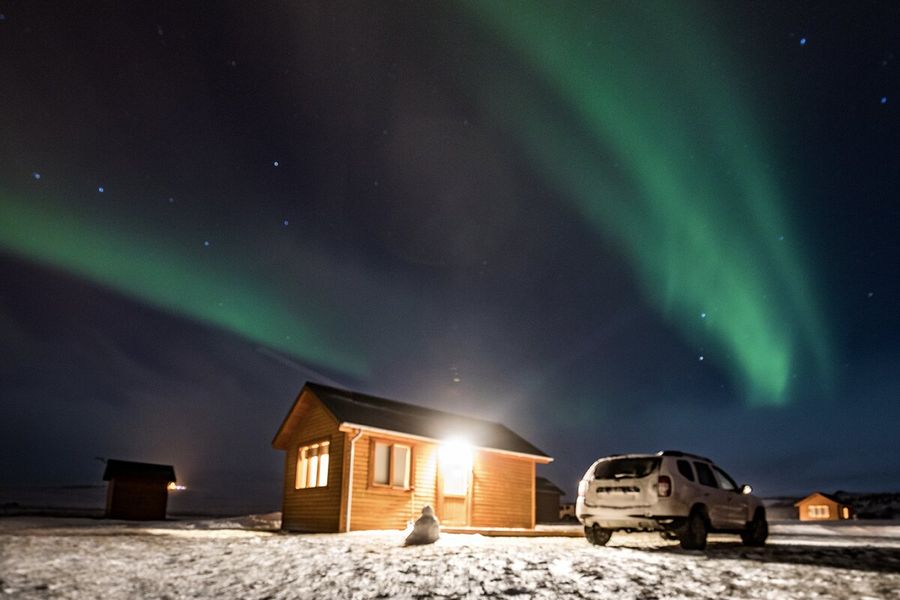
So, what are the northern lights? Those ribbons, waves and flashes of colour are created when charged particles from the Sun interact with gases high in Earth’s atmosphere, releasing energy as light. That’s the science behind it, but the reality, when you’re standing beneath the celestial lights dancing across the sky, is much more magical.
And what causes aurora borealis to glow in different colours? It depends on which gases the particles encounter and at what altitude, with green the colour you’re most likely to see. On a good night, those colours can shift and ripple across the sky, fading almost completely before suddenly gathering intensity again.
It’s a phenomenon concentrated around Earth’s polar regions, which explains the winter pilgrimages to northern Scandinavia, Iceland, Alaska and northern Canada. Location is only part of it, though. You need darkness, clear skies and enough aurora activity to coincide. When they finally do, you’ll understand why people happily stand around in sub-zero temperatures staring at the stars.
What is the Kp index, and how do you use it to predict where can we see aurora borealis?
The Kp index measures disturbances in Earth’s magnetic field on a scale from 0 to 9. If you’re planning an aurora trip, you’ll quickly become familiar with those two little letters. Generally, the higher the number, the stronger the geomagnetic activity and the further south the Northern Lights may be visible.
That makes it particularly useful for working out how far south the northern lights might be visible on any given night. A Kp of around 6–7, for example, is considered moderate to strong.
But don’t get too attached to the number. Elena, Senior SEO Specialist at Photobox, points out that while Kp can indicate aurora activity, it can’t tell you how bright or colourful the display will actually look. Forecasts give you probabilities, not promises. A high Kp can still lead to hours spent staring hopefully at an empty sky, while a less promising forecast can suddenly surprise you.
Anna, Creative Copywriter at Photobox, recommends My Aurora Forecast & Alerts for keeping an eye on activity while you’re away. And check the cloud forecast while you’re at it. The greatest aurora display of the year isn’t much use if it’s happening above a thick blanket of cloud.
Where can we see the northern lights without an expensive trip to Iceland?
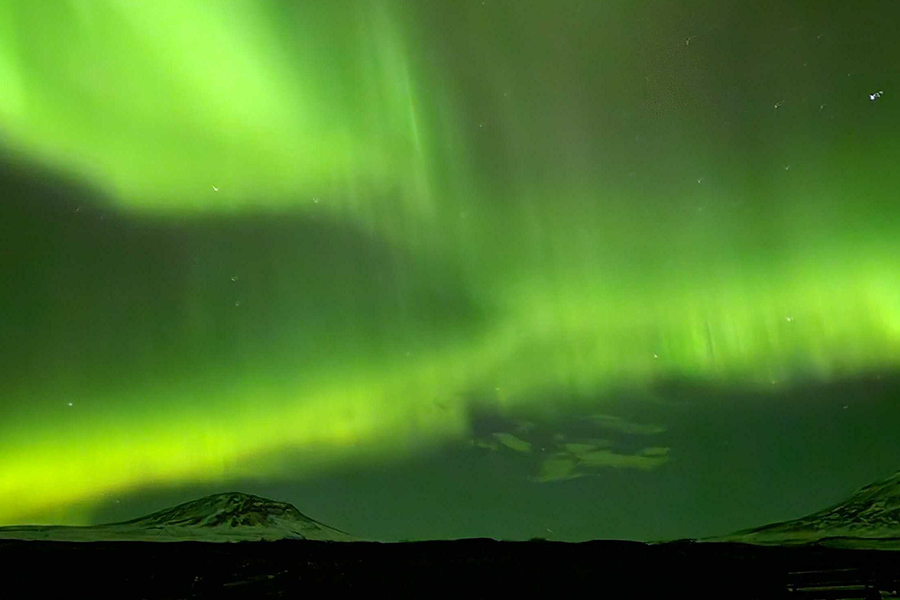
Iceland might be the poster child for aurora chasing, but it’s far from your only option. Northern Norway, Sweden and Finland can be every bit as rewarding. Dark skies, low light pollution and clear weather matter far more than a famous postcode. Travel writer Gemma learned this the hard way. Ten days in Iceland over the winter solstice brought almost constant cloud and just a faint glimpse of the lights.
In fact, smaller destinations across northern Scandinavia can have an advantage, with some experiencing drier, less cloudy winters than Iceland’s famously changeable weather. Elena had better luck near Kiruna in northern Sweden at the end of October.
So, where can we see northern lights without defaulting to Iceland? Northern Scandinavia offers plenty of alternatives, and wherever you choose, giving yourself several nights improves your chances. Around 10pm–2am is often a good viewing window, although the aurora isn’t particularly interested in keeping to an itinerary.
What are the best camera settings for northern lights photography?
If you’re shooting with a DSLR or mirrorless camera, the best camera settings for aurora borealis depend on how bright and fast the aurora is moving. Start here, then adjust as the display changes:
- Use a wide aperture to capture more light: Set your aperture to the lowest f-number your lens allows, helping your camera capture as much light as possible.
- Raise your ISO, but watch out for noise: You’ll generally need a higher ISO in the dark, but avoid pushing it unnecessarily as this can leave your aurora lights photography grainy.
- Match your shutter speed to the aurora: Use a longer exposure for faint or slow-moving lights, and a shorter one for bright, fast-moving displays to keep individual rays defined.
- Use manual focus and keep your camera steady: Autofocus can struggle in the dark, so focus on a distant light or star and use a sturdy tripod to avoid camera shake.
Anna found that her aurora borealis camera settings needed to change with the display too: bright lights required only a short exposure, while fainter ones needed more patience. Take a test shot, check it and adjust as you go. What worked five minutes ago might not work five minutes later.
How to photograph aurora borealis with a smartphone
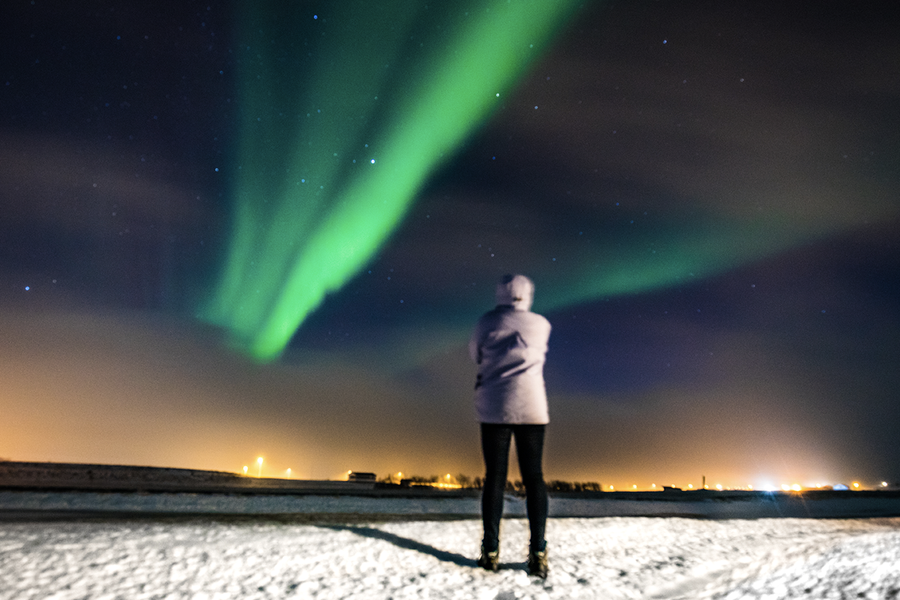
No big, fancy camera? No problem. Here are a few simple phone camera settings for northern lights:
- Switch on Night mode or Pro mode: On an iPhone, Night mode can automatically extend the exposure in very dark conditions. Android options vary, but many offer Night mode or Pro/Manual controls for adjusting ISO, shutter speed and focus.
- Keep your phone completely still: Use a tripod or stable surface for longer exposures, and set the timer so tapping the screen doesn’t introduce camera shake.
- Shoot in RAW if your phone supports it: RAW files retain more image information, giving you greater flexibility to bring out colour and detail afterwards, particularly when the aurora looks faint to the naked eye.
- Adjust as the lights change: The same principles behind camera settings for northern lights photography apply here: let in enough light, keep things steady and be ready to adapt as the aurora gets brighter, fainter or faster.
You don’t need a professional camera to capture the northern lights. Sometimes the best camera for the job really is the one already in your pocket.
What are some composition tips for photographing aurora borealis?
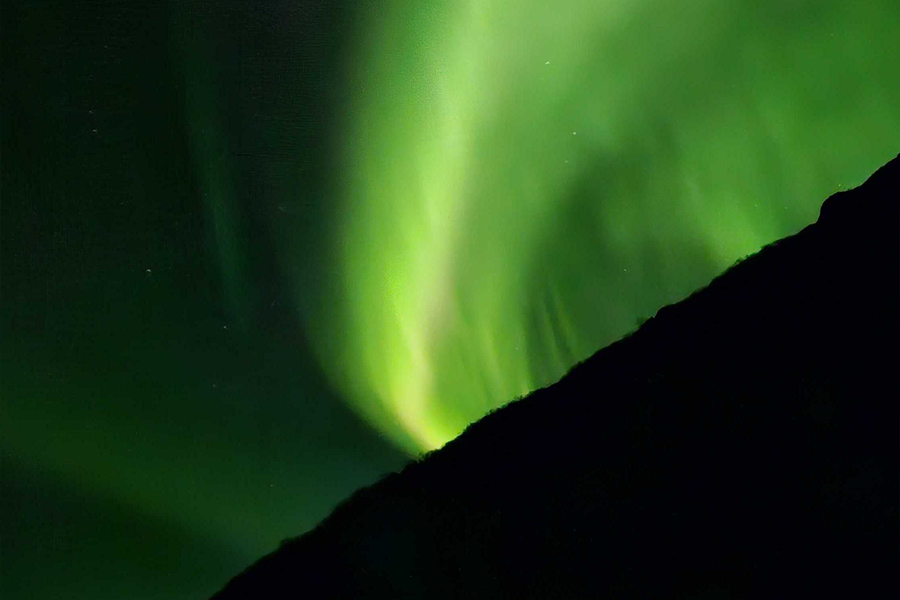
Great aurora lights photography captures more than what’s happening in the sky. If you want to take your northern lights photos to the next level, get creative. Bring some of the landscape into the frame, whether that’s a snow-covered mountain, a tiny cabin or the people you’re travelling with. It gives the aurora scale, context and a real sense of where you were when it appeared.
Start by framing towards the northern horizon, where the aurora will often first appear, but be ready to rethink your composition once the lights get moving. They can shift position, shape and intensity remarkably quickly.
Wide shots are brilliant for capturing the sheer scale of the display, while including a strong foreground can turn an incredible sky into a photograph that tells the story of the trip. For more inspiration, explore our guide to different types of photography shots.
What are the most common aurora lights photography mistakes?
The biggest mistakes in aurora lights photography are usually simple ones: camera movement, too much ISO, giving up on a faint display or assuming the weather has ruined your chances. Here’s what to watch out for:
- Blurry northern lights photos: Longer exposures magnify even tiny movements, so keep your camera or phone steady and check your first few shots for sharpness before the aurora gets away from you.
- Too much noise in your photos: A higher ISO helps in low light, but push it too far and your image can quickly become grainy. The best aurora borealis camera settings balance enough light with a clean, sharp image.
- Giving up on a faint aurora: Your camera can pick up colour and detail that your eyes barely register. A faint display can look much stronger in a photograph, while careful editing can reveal greens and details that weren’t obvious at the time. So take the shot anyway.
- Expecting the camera to see what you see: Sometimes a photograph reveals more than your eyes can, but when the aurora really gets going, the opposite can also be true. In Tromsø, travel writer Gemma watched barely perceptible light transform into vivid rays dancing across the sky within moments. When you can actually see that movement overhead, sometimes it’s also nice to put the camera down for a second and enjoy it.
- Writing off moonlight or cloud: A full moon can illuminate snowy landscapes and other foreground details, while Arctic weather can change remarkably fast. Cloud at 10pm doesn’t necessarily mean cloud at 1am, so keep checking outside.
Turn your northern lights photos into something worth keeping
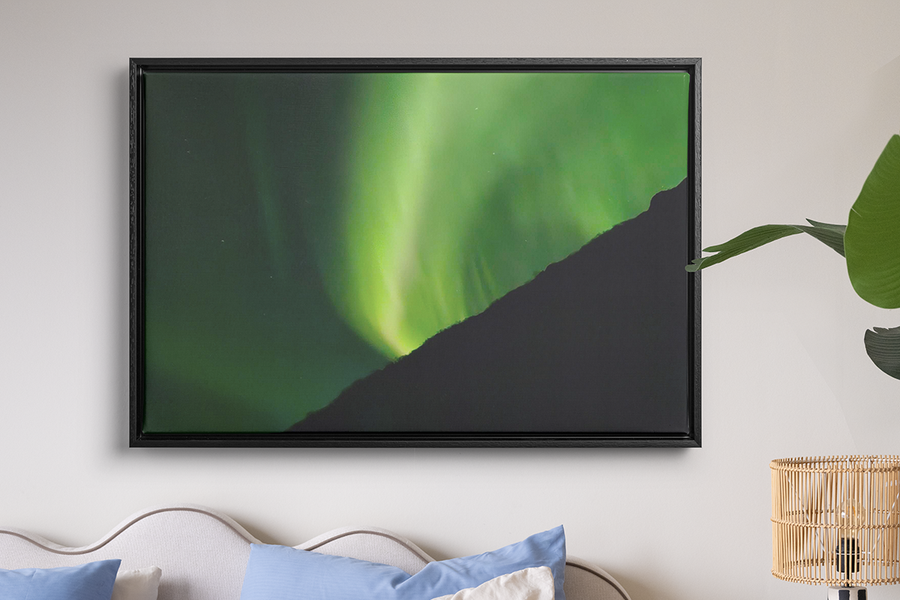
After all the planning, waiting and staring hopefully at the sky, getting the shot is part of the adventure. And the best aurora lights photography deserves more than a permanent home in your camera roll.
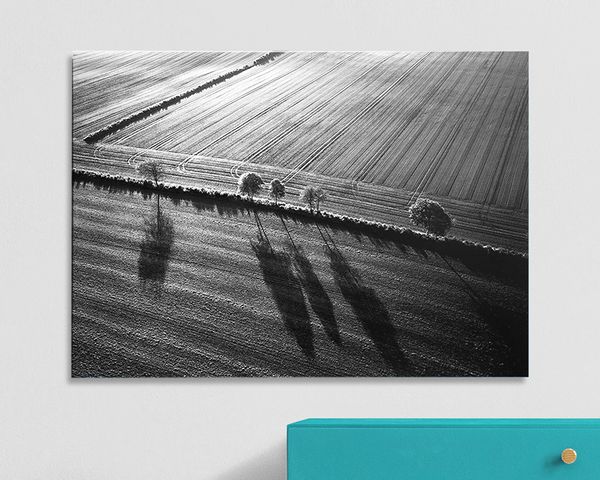
Turn a sweeping landscape into wall art, tell the whole trip in a photo book or print your favourite shot to keep. However you do it, it’s a pretty good reminder of the night the sky finally showed off.
Bring your northern lights photos to life
Northern lights photography tips FAQs
What does the Kp index tell you about the northern lights?
The Kp index measures geomagnetic activity from 0–9. A higher number can mean stronger aurora activity and visibility further south, but it can’t tell you how bright or colourful the lights will be, or whether cloud will block your view.
Where are the best places for where we can see northern lights?
The most popular places where can we see aurora borealis are Norway, Sweden, Finland and Iceland. Wherever you go, look for dark skies, minimal light pollution and clear weather, and give yourself several nights if possible.
What are the best phone camera settings for northern lights?
If you’re wondering how to photograph aurora borealis on your smartphone, opt for Night mode or Pro/Manual mode, with your phone kept completely still. Use a timer and, if your phone supports it, shoot in RAW for more flexibility when editing.
Do you need a tripod to photograph the northern lights?
It’s not 100% necessary, but a tripod is strongly recommended. Many aurora borealis camera settings rely on longer exposures, so keeping your camera or phone still gives you a much better chance of capturing a sharp image.