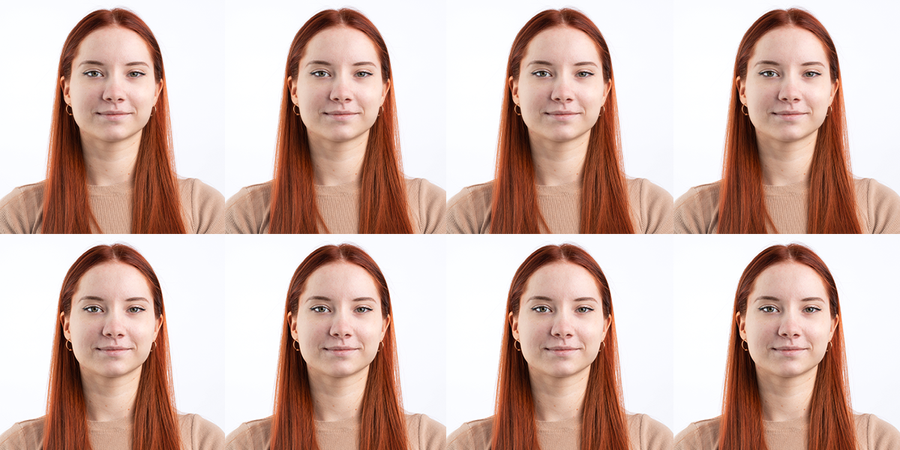
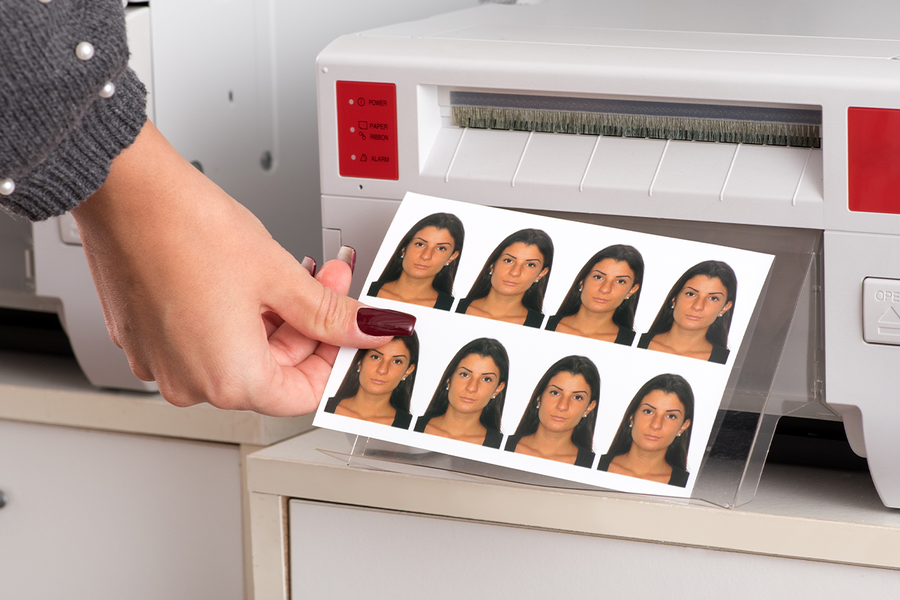
How to take passport photos using your phone
By Photobox on 1 July 2025
We get it, they’re not exactly fun to take. But with a few simple tips, it’s easy to take your own passport photos on your phone until you get them just right.

So, it’s time for a new passport…finally. But wouldn’t it be great if you could get a new passport photo without having to leave home? Say goodbye to that 10 year old photo (seriously, what were we thinking?) and snap yourself a new one from the palm of your hand. Here are our easy photo tips for getting the best quality picture for your new passport.
Step 1: Find the right camera
Snapping your passport photo from home has never been easier. Whether you use a digital camera or the one on your phone, it’s guaranteed to be quicker and you can retake it as many times as you like to perfect your facial expressions.
Unless you’ve got an incredibly steady hand, you might need a little help getting the perfect shot. Using a tripod or self-timer can be helpful, but we found that it was easier to get a friend to take the shot.
Your photo must be clear and in focus, and at least 600 pixels wide and 750 pixels tall, so having a good camera definitely helps here.
Step 2: Set the scene
The official requirements for a new passport photo are strict but simple. You’ll need to stand in front of a light-coloured background, so a plain white, grey or cream wall is perfectly fine. You’ll need to make sure there are no objects in the frame, so move the houseplants for a while…
Then, you’ll need to stand in shot. Stand the camera, or your photographer friend, 1.5m away from you, and stand yourself 1m away from the wall. This should ensure a focussed shot.
Make sure there’s enough space around your head and shoulders. You shouldn’t crop your photo, the Passport Office will do this for you.
If you’re taking a photo of your little one for their first passport, it might help to lay them on their back on a plain white blanket, and take the photo from above. Again, you’ll need to leave enough space around their head and shoulders for the photo to be cropped, and they’ll need to be on their own in the shot.
Step 3: Find the perfect lighting
Your passport photo will need to be well-lit, and the best lighting is always natural lighting. Try standing in front of a window and taking your photo earlier in the day to avoid any evening shadows.
If you can’t make the most of the natural light, you can always use a lamp instead.
Step 4: Get yourself ready
Taking your passport photo comes with certain requirements, and to ensure it doesn’t get rejected, it’s worth double-checking what you can and can’t wear. You can find a list of dos and don’ts here, but to make it easier for you, here are some of the most important ones:
- You’ll need to be facing forwards, looking straight at the camera.
- Keep a plain facial expression with your mouth closed.
- Your eyes need to be open.
- Keep your hair out of your face and not in front of your eyes.
- Make sure you’re not wearing a head cover, unless for religious or medical reasons.
- Make sure there’s nothing covering your face and that there are no shadows on your face or behind you.
- If you wear glasses, it’s okay to leave them on, but you need to check there’s no glare or flashback. Sunglasses or tinted lenses are not allowed.
Step 5: Strike a pose (sort of)

Now you’re ready to go. Strike your best, non-smiling, neutral expression pose and snap away. Once you’re satisfied with your photo – you can retake as many times as you like – simply upload it when you fill in the online application to renew your passport on the GOV.UK website.