How to hang wall art with our hanging kits
By Photobox on 21 September 2026
From classic Frames, to renter-friendly Adhesive Strips, and Adhesive Hooks with stylish Wooden Hangers, here’s a step-by-step guide on how to use your chosen kit.
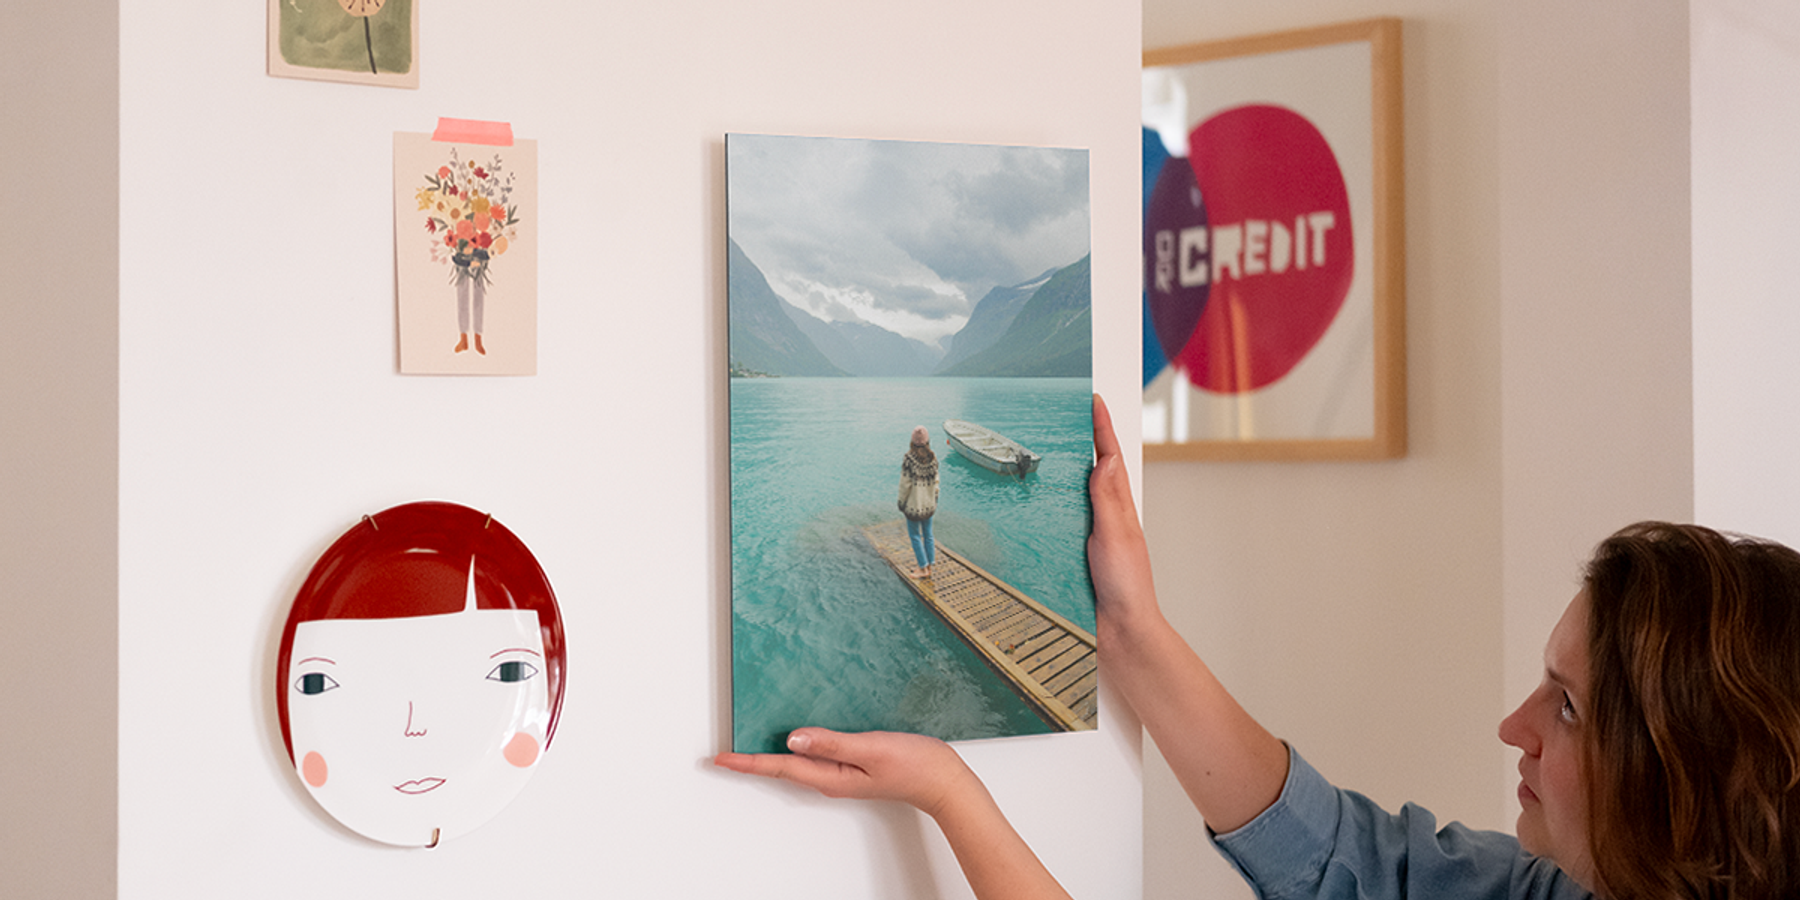
Congratulations on becoming a wall art owner. If you happened to buy a hanging kit to go with it, here’s our handy how-to on how to hang it (good tongue twister, right?).
What’s a hanging kit?
A hanging kit is an available add-on when you buy wall art. When it arrives, you can hang it right out of the box. It’s a great option if you don’t want to fuss around at a hardware store.
There are three different hanging kits across our wall art range.
- Adhesive Strips: Hang in seconds – no tools, no damage.
- Wooden Hanger with Adhesive Hook: Unique, decorative, and renter-friendly.
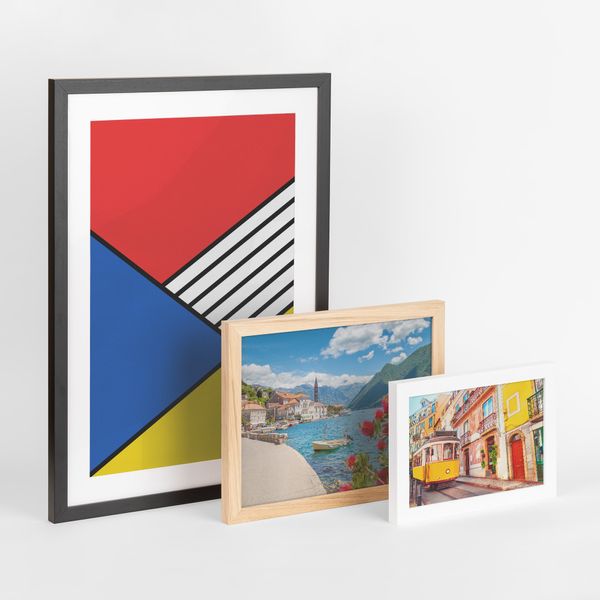
- Frame: The classic way to display, available in three colours.
Which wall art comes with the hanging kit option?
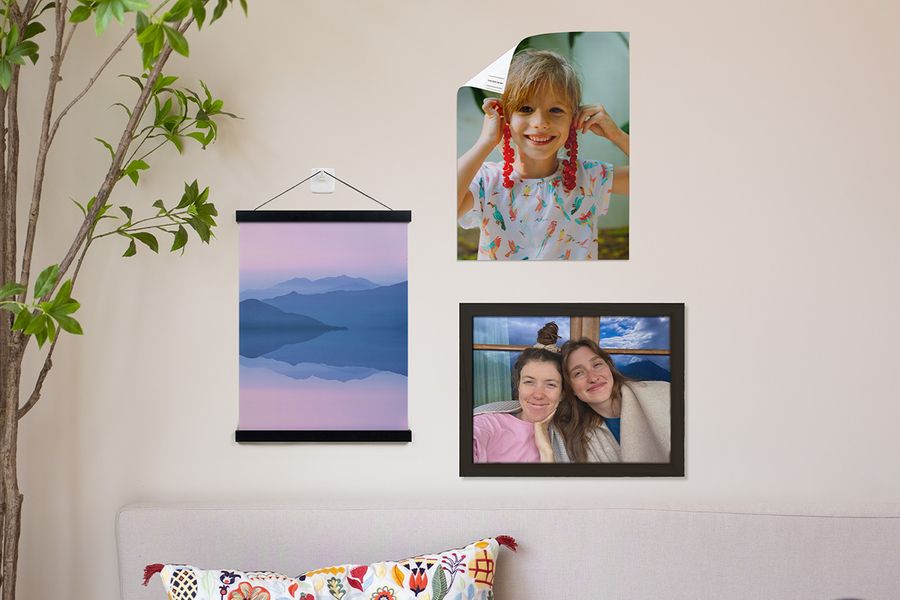
You can buy a hanging kit with any of our wall art materials – canvas wall art, poster prints, aluminium prints, acrylic, or mounted prints.
How do I hang wall art using a hanging kit?
If your wall art and hanging kit have arrived, see our step-by-step guide below.
Step 1: Mark your wall
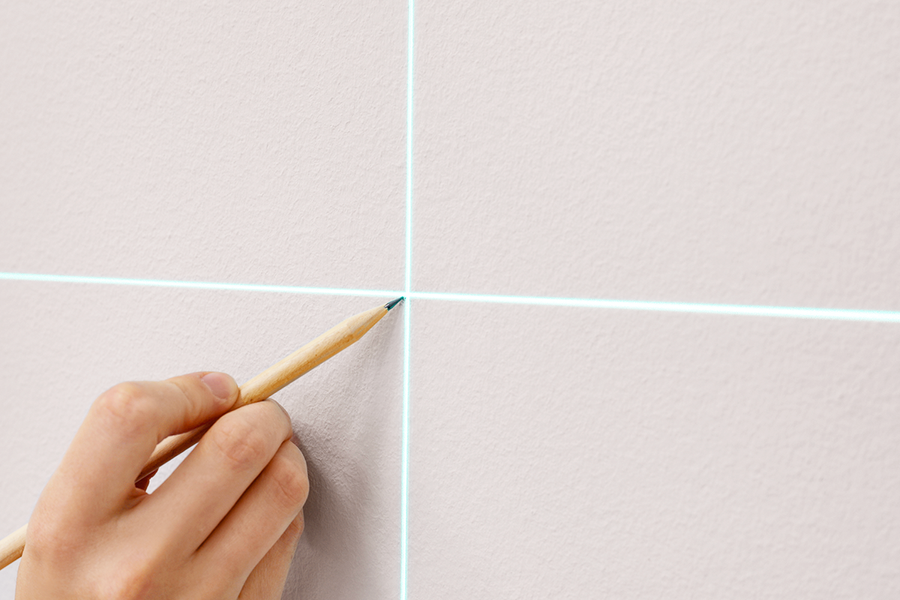
Ready, set, mark – time to prepare your hanging kit.
Frames:
Get your pencil out and mark where you want to place your wall art on the wall. Remember that the top of the wall art will sit above your pencil mark.
For large wall art, mark two spots to ensure it hangs evenly.
Optional: For a more accurate measurement, use a laser or spirit level to mark your wall.
Adhesive Strips, or Wooden Hanger with Adhesive Hook:
No wall marking is required for these easy, drill-free options.
Step 2: Install the kit
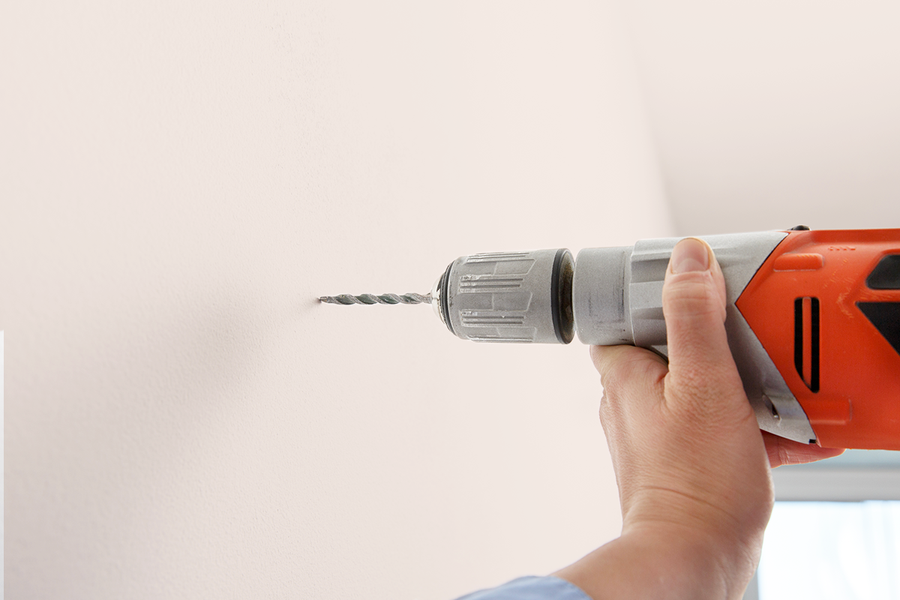
Frames:
Line up the wall kit with the pencil-marked area and make a hole, then secure the hanging rail with the provided screws and wall plug.
Note: Our framed wall art should only be hung with the provided screws and plugs. Any screws or plugs shouldn’t be used on plasterboard or stud walls.
Adhesive Strips:
Apply each Adhesive Strip to the four corners of your piece, then secure it to the wall. Easy.
Wooden Hanger with Adhesive Hook:
Adhere the Adhesive Hook to the wall. Attach each sides of the magnetic Wooden Hanger to the top and bottom of your piece, and hang on the hook.
Step 3: Hang
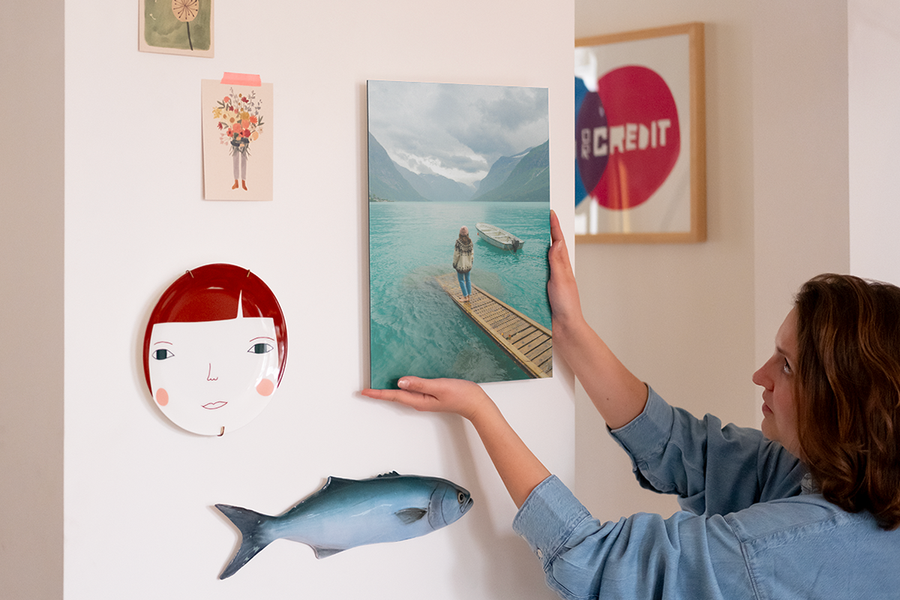
Ta-da, you’ve done it. Your wall art is ready to hang.
We hope these short (but succinct) steps help turn your space into the next Louvre.