Get started with these tips on creating a Photobox personalised calendar
By Photobox on 5 November 2025
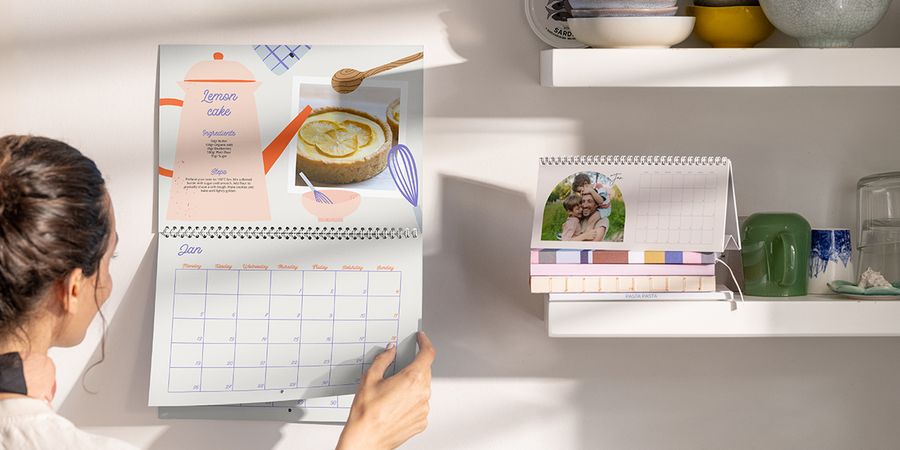
Whether you’re keeping track of your schedule or you’re gifting for someone special, get creative with a photo calendar. Only got a spare 15 minutes to create? Don’t worry, we’ve made it easy for you to create your gift in little time. To help you get started, we’ve put together a quick and simple guide on how to pick a pre-designed calendar and how to personalise it.
Think about who it’s for
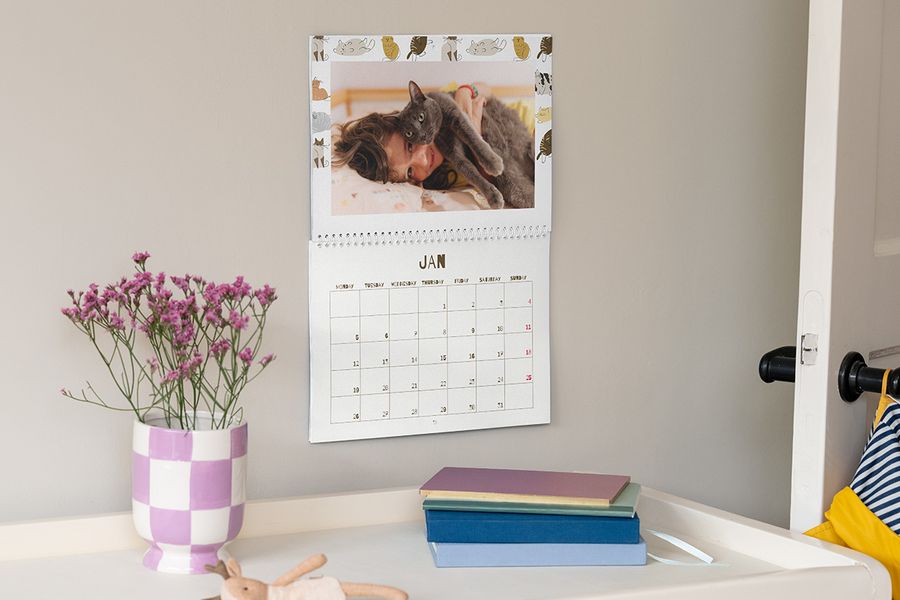
Before you start, it’s important to think about who you’re creating your calendar for. It helps in choosing the photos and design that’ll bring a smile on their face. With our calendars, you can start with any month of the year – that way, it’s a great gift all year round. If you’re creating one for yourself, think about where you’ll hang it. You can then start thinking about the look and feel of the calendar in general.
Pick a size
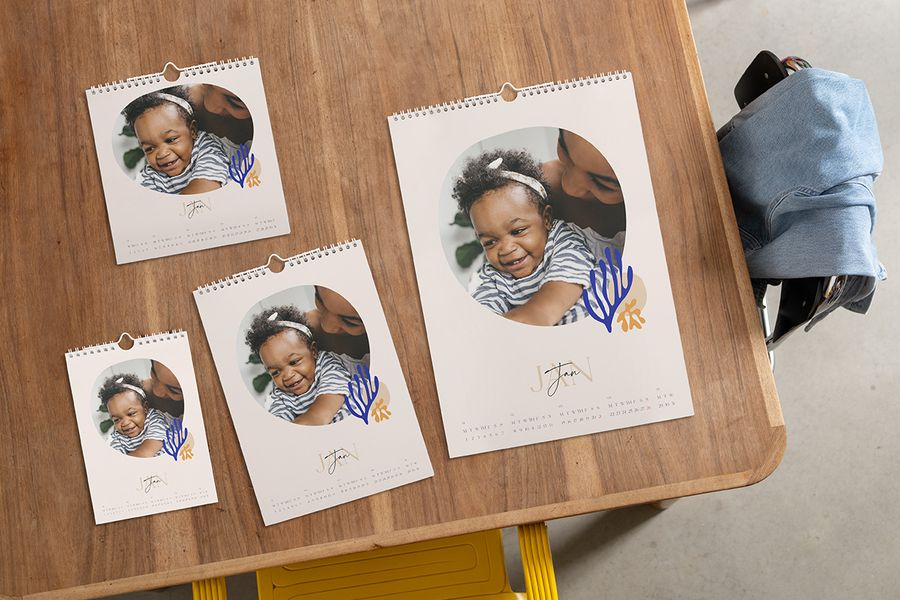
Next up is an easy one – pick a size for your calendar. There are a few options to choose from: A3, A4, A4 double, and square. If you can’t decide, think about where your calendar will hang. For open spaces, our customer favourite – the A4 double – can help create a focal point in your space and showcase both your favourite pictures and events better. For smaller spaces, like your study or above your desk, a square or A4 calendar takes up less room.
Pick a design
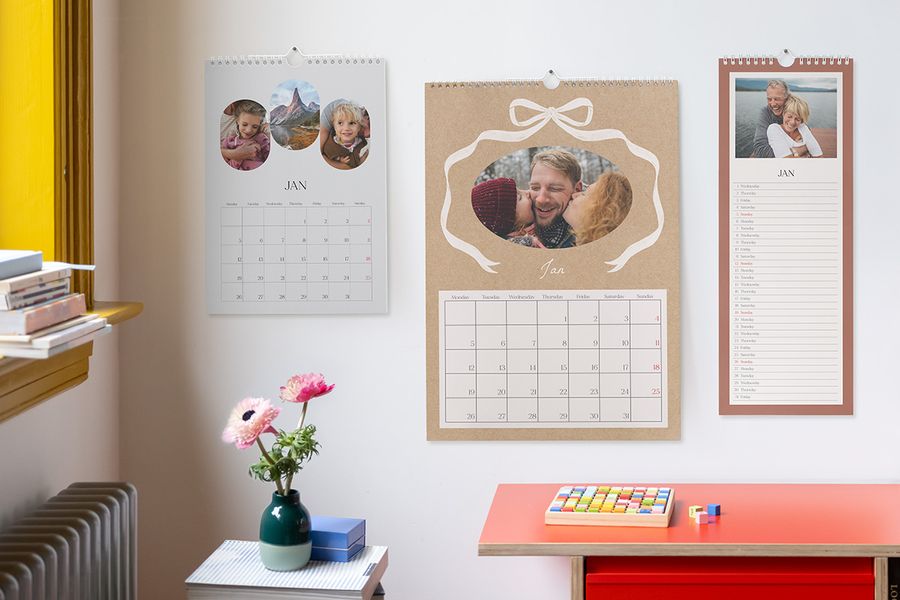
With over 100 exclusive designs available to choose from, you’re sure to find a design that suits your style – whether it’s minimalist, contemporary, or playful. We’ve also added over 30 new designs recently, just in time for gifting season. You can also give your design a more personal touch with a variety of creative options in our editor, like adding frames or clip art.
Choose your photos

After settling on a theme and picking a design, all that’s left is to choose and add your photos. Try matching photos with different months, such as adding wintery photos in January and February. But don’t feel like there are rules around what you should or shouldn’t show – you can also go all out and make your calendar truly yours.
Get creative
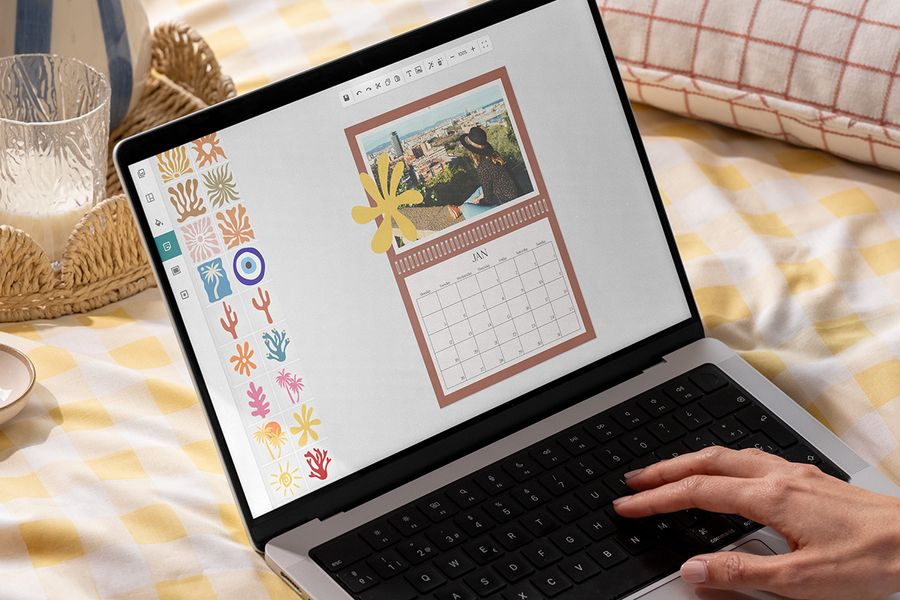
Now that you’ve picked your design and added your photos, try experimenting with some of our fantastic extra features.
Events
You can add important events to any date during the year – think birthdays, anniversaries and weddings – to add an extra personal touch to your design.
Backgrounds
Our editor has a great feature that matches background colours to the photo on the page. Give it a go and see what you think (we think you’ll love it).
Illustrations
Take a look at our library of clip art that you can add anywhere on your design. They’re great for adding a little extra flourish or flair.
Frames
Your photos don’t have to be framed in the classic square or rectangle – our editor has loads of unique frame options you can use to suit your tastes.
Masks
If you’re feeling bold, try and play around with one of our masks – it overlays your photos and gives them a cutout effect.
Messages
You can add text or messages throughout your calendar to change things up, like a short caption about the photos for that month or a nice quote that goes with the snaps you chose.
Review time

You’re almost ready to order! Now’s the time to check through each page and make sure everything is as it should be. You’ve got the right pictures, the dates are correct, and you’re happy with your design. Maybe get a friend or family member to have a check too – another pair of eyes always helps.
Order
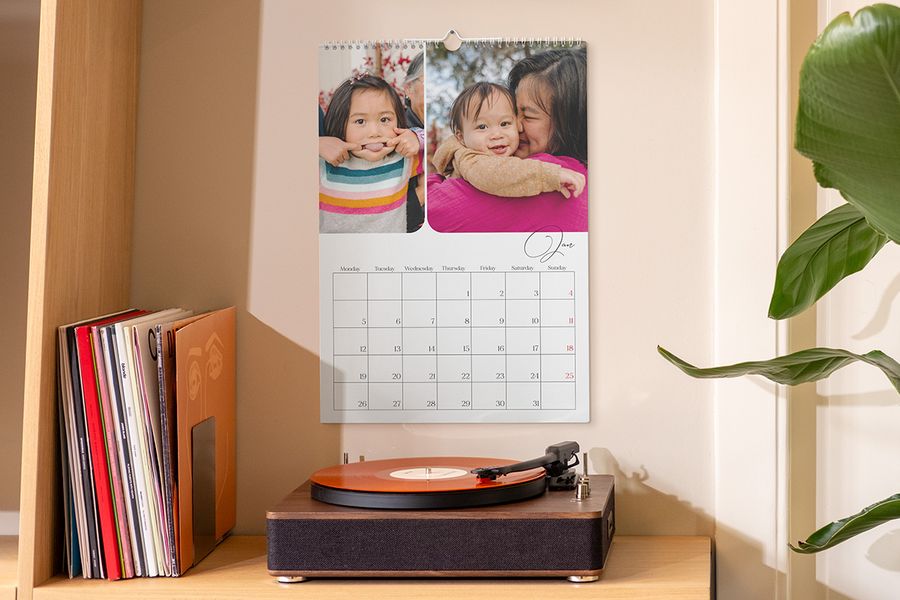
Time to sit back and relax – your part here is done. Once you hit the order button, we’ll be hard at work bringing your personalised calendar to life and delivering it directly to your door. Put the kettle on – you’ve earned it.
Calendars are always a good gift, but a personalised calendar is something extra special. Plus, if you can create one in just 15 minutes, imagine what you can do with a whole afternoon? Personalised gifting pro, incoming. You or your loved ones will be enjoying it for a whole year to come and it’s a great way to look back on your best moments together. Ready to get started?