How to tell a story with your photo book
By Photobox on 24 October 2019
Relive your favourite moments in a bonusprint photo book with these simple storytelling tips.

You don’t need to be a wordsmith to tell a great story – your photos can do the talking too. Whether you want your snaps to do all the work or you need captions to paint a bigger picture, here are creative storytelling ideas to help you start your next photo book.
We’ll guide you through developing your structure, visual storytelling, and writing descriptive text to perfectly match your pictures so that you can relive your favourite moments as if they happened yesterday.
The importance of a good narrative

When you’re catching up with friends, you’ll always think about the structure of your story, right? Otherwise, if you’re jumping around without any kind of order, it can get very confusing – it makes it harder for you to remember important details, and it’s difficult to follow for whoever’s listening. The same sentiment applies to your photo book. Before you start creating, think about the structure. This will make it so much easier for you to plot where your photos are going to go.
Think about the purpose of your photo book

The purpose of your book will help you to shape your theme and your narrative. If you’re gifting the book to someone special, like for a wedding anniversary, you can structure it as a timeline of your relationship up to this moment. To create a book for yourself, you could split it into themes that interest you.
Quick tip: for a gift, start with a spider diagram of moments that are important to that person. Think of it like word association. This will help you plan captions or quotes that’ll work for each moment and to think about your design too.
How to structure your photo book chronologically

When you’re thinking of a timeline for your book, this doesn’t have to be stretched over years and years; it could be photos from a week or day that you’ve put in order. For a travel book, you could start with a photo from the plane window and end with a photo from the journey back, then sandwich all the highlights from your trip in between.
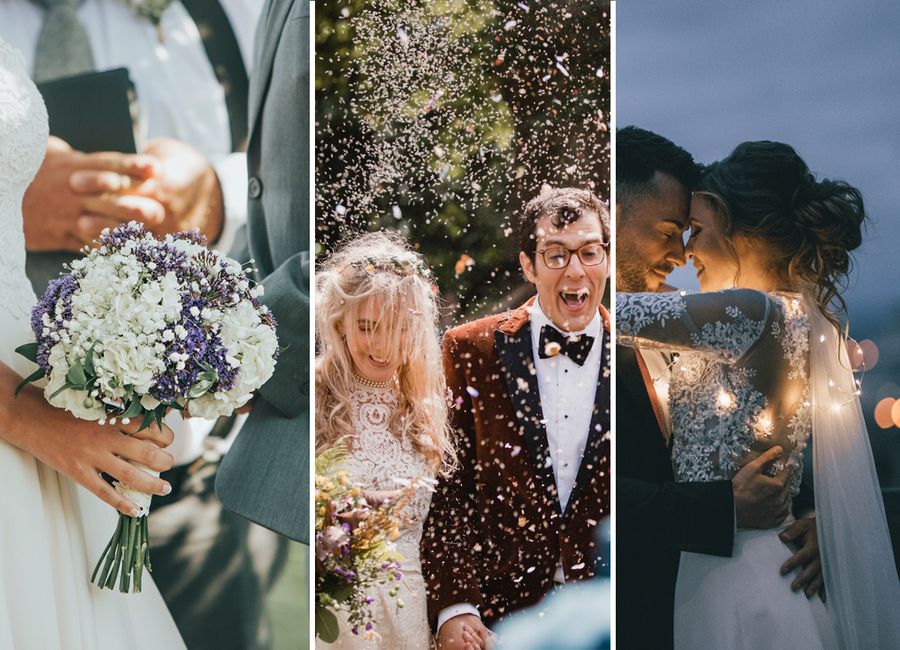
For a wedding album, think about the structure of your big day; start with the ceremony, lead into the moment you walked to the reception as a couple, then add photos of the dinner and speeches, and finish with your after party.
Quick tip: draw out a timeline of events before you start your book. This will help you to remember key moments and plot the structure of your photo book.
Storytelling ideas that don’t follow a timeline

Conventional storytelling follows a beginning, middle, and end structure, but not all narratives follow this chronologically or in a linear pattern. Think about TV shows you’ve watched or books you’ve read where episodes or chapters might jump in time, but they’re focused on a character or characters. You could use a similar idea for telling a story in your photo book.
For a family photo album, you could divide chapters by people – dedicate pages to Gran and Grandad or by each of your kids. If it’s a gift for your best friend, separate it into hobbies or experiences you’ve shared. You could create pages of all the festivals you’ve been to together or of your adventures through the years.
Quick tip: drawing lots of little spider diagrams works for this approach too. Before you start your book, think about how you’d split it into chapters. Jot each chapter name down, then write out all the moments you associate with them. If you’ve got loads of photos to go through, it’ll help you know what you’re looking for too without just picking them at random as you go.
Use text or let your snaps do the talking

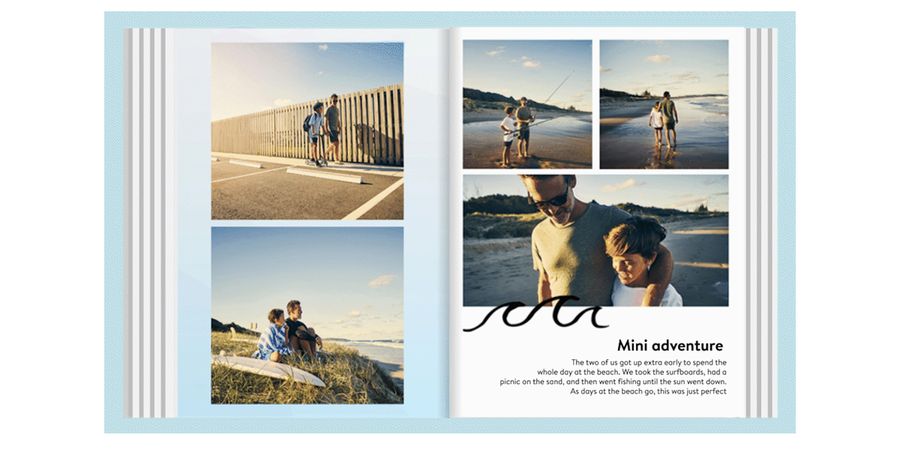
Captions will help you add extra colour to your story, especially if you’re not following a timeline. Try to be descriptive and paint a bigger picture by describing things that led to the moment you captured. If you’re flipping through your photo book with friends and family, these little anecdotes could keep you reminiscing together for hours and hours.
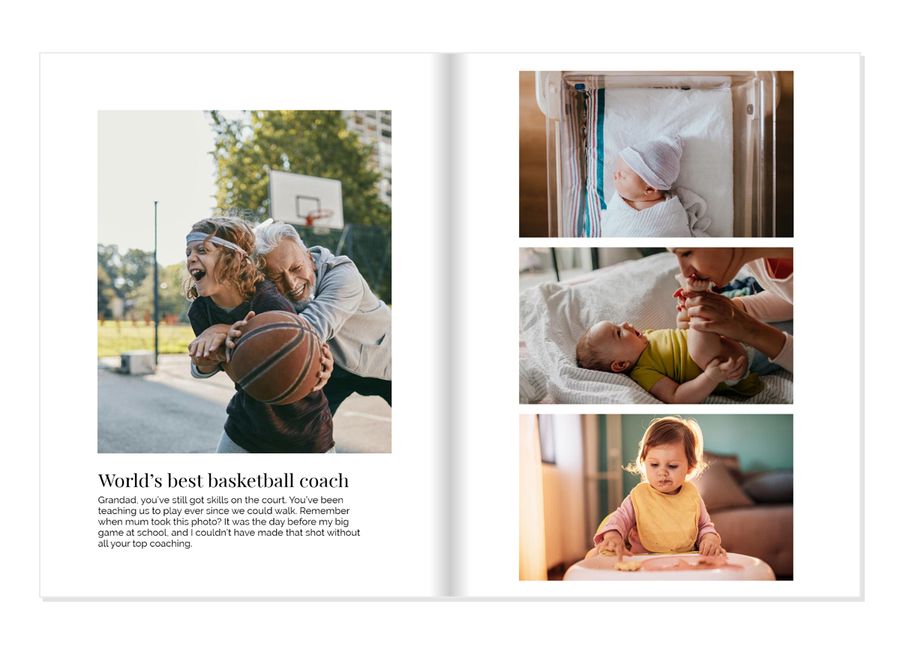
Visual storytelling works very well for a chronological photo book. In a baby book, for example, you can easily show your baby’s development in pictures alone. If you want to include text, you could save a page at the back to roundup your baby’s stats, like the time they were born, their weight, and the date they first started walking.
Quick tip: if you’re lost for words when creating your captions, you could use song lyrics that you associate with that moment instead.
Add mementoes for extra context

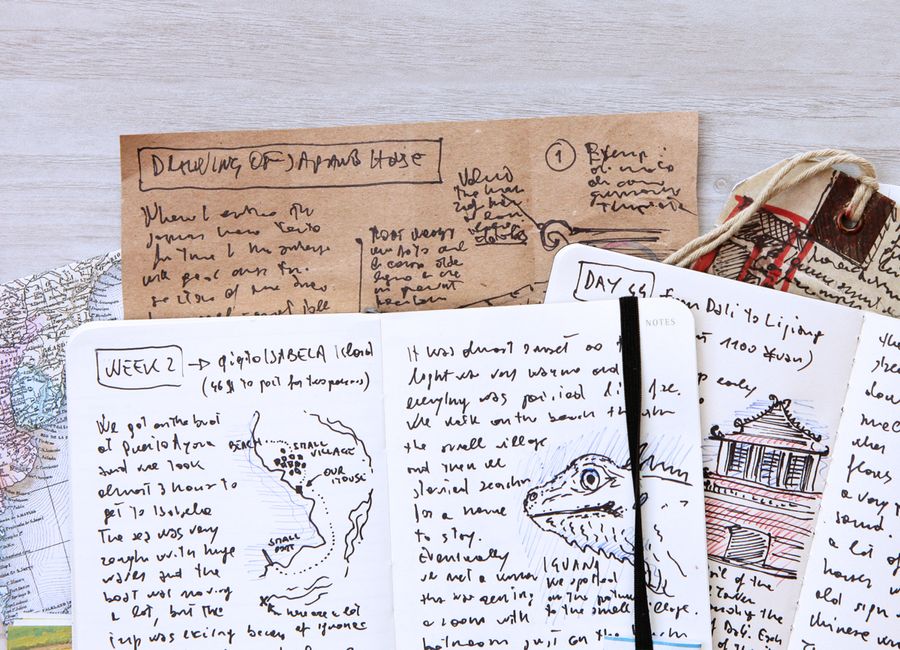
Mementoes, tickets, and pages from a scrapbook can make your story even richer. They can help to jog your memory if you’re showing your photo book to family, make your book even more personal, and add extra details that you couldn’t capture in a photo.
For a travel photo book, for example, you could scan diary pages plus any sketches and doodles you did of local landmarks. This can give more insight into the type of experiences you had and help you to reflect how you felt at a certain moment in time.
Quick tip: if you don’t have a scanner, there are loads of scanning apps out there.
Now you’ve got plenty of creative story ideas, how will you make your next photo book? If you need extra tips before you get going on your next project, make sure you check out our other how-to guides for loads of design inspiration and workflow ideas from our creative team.
To share this guide on social, click the icons below. And remember to follow us on Facebook and Instagram for more photo book creation tips.